Ugly Jelly makes a baby!
This was an easy quilt, and fun to make.
I was asked by Brat to make, and I quote “a quilt” for another Navy friend. The thing is, this friend had twins! Great! So, I had to figure on making two quilts, both alike, yet different. My first thought was to make same quilt, but add a different element of color. Of course that is the easiest, so I chose a design I had recently made to use precuts. I bought the fabric: one layer cake, and Kona’s color of the year for sashing, and thought “easy peasy” while waiting for my squishy to arrive. When I got ready to make it, I noticed Kona’s Flamingo Pink didn’t quite match the large floral prints of the layer cake that I wanted to use. Back burner!
So it sat a bit until I got this idea from a book to make pinwheels out of a strip set. I have over 50 jelly rolls, and still have some of those ugly ones that I made my first Ugly Jelly Quilt from in other colorways. Time to use them up! Thank goodness they only came in sets of 20 strips. I grabbed 3 rolls knowing I would pull out some of the more hideous ones.
Warning: The following image may not be suitable for sewists of fine taste.

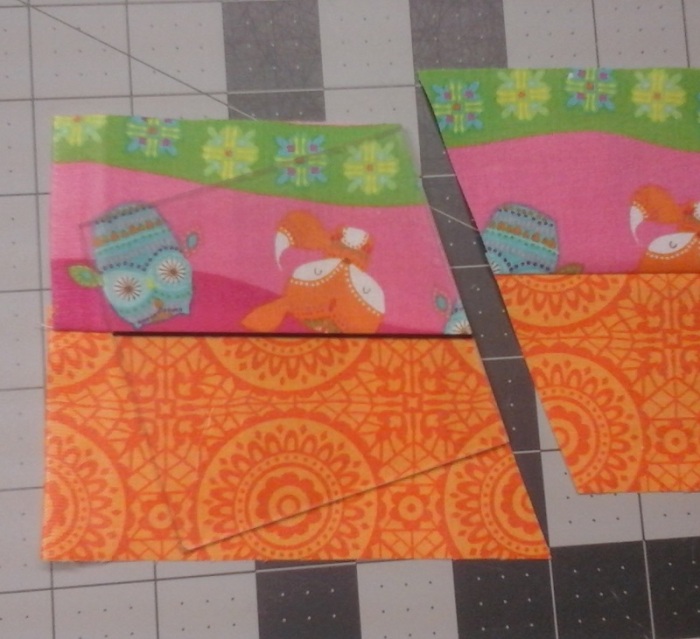
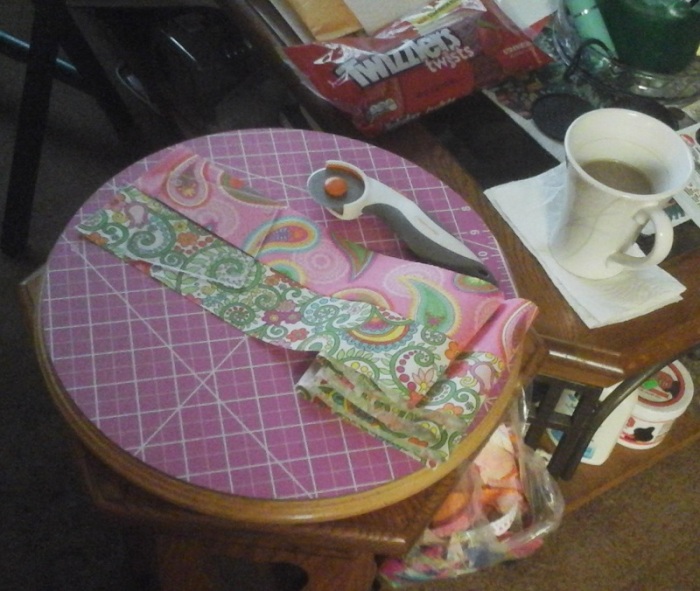
I had some templates cut for me at the local hardware store years ago to use for fussy cutting, so I found my 3.5″ one, and drew a line 1 1/8th inch from the top across to 1 1/8th from the bottom on the other side, and made a test strip. I cut it, assembled it, and liked it. I later added little feet to the template so it would float over the seam, and not move while I cut them.


Each strip set will cut into 11 pieces, but you only need 8 pieces to make 2 blocks. 3 more pieces is not enough for another block. I will worry about those left overs later.
The drawn line shows up better if it is on the ‘down’ side. Simply line up with the seam, and cut.
Turn and cut again

Turn again, and cut again.
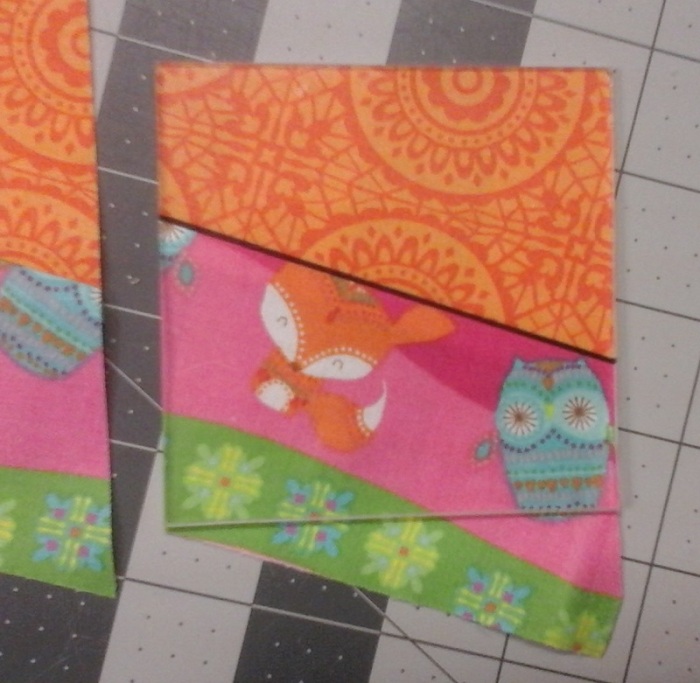
Once more.
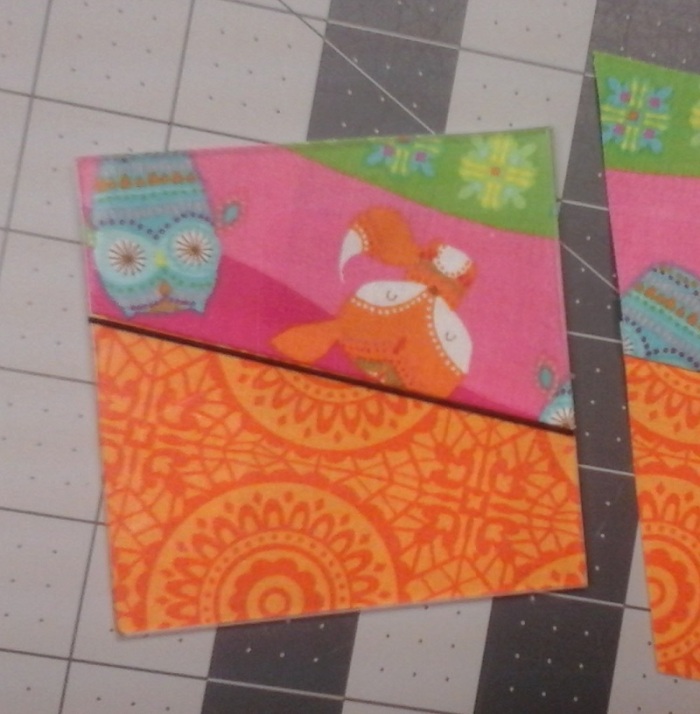
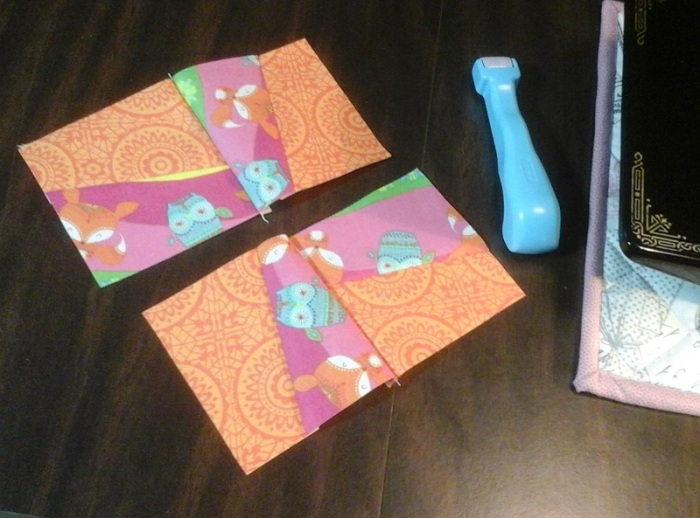
2 stacks of 4 pieces, and here’s the leftovers. If I was doing a 2 color quilt, I could use these better, but I’m not.

These blocks can be arranged either way.

I would need 56 blocks to do a 7×8 layout bringing it to 42×48. That’s 56 strips sewn into 28 pairs.
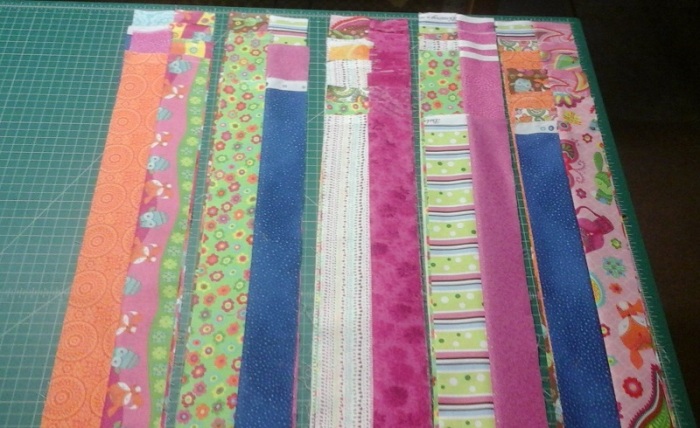
Once I removed the more hideous ones, I replaced them with some pink strips cut from Timeless Treasures.

I will never buy a roll of strips from this company again. I still have 6 more reminders of this mistake.
After all the strip sets were sewn, I set up an assembly line in front of the TV, and cut the whole thing while watching one single movie! The 3.5 template set on my small rotating cutting board enabled me to spin and cut on all 4 sides without moving the template.
Yes, that’s a sandwich baggie taped to the side of the table.
Meanwhile my Sew Sampler box [by Fat Quarter Shop] had arrived on the same day as my new wooden wall paper roller. The SS box contained a seam roller tool by clover, so I tried both. I wanted to like the wood one that was only $8, and I might have, if not for how nice the clover one fits in my hand, plus is exactly as wide as the seam. It retails for about $14. Again, I never would have bought this, but since it came in my box, I am really diggin it! In fact I went to a newly formed Featherweight group a couple of towns away, and showed them what I was working on, and a lady there was so impressed with the tool, that she bought one on her phone while I was there. The other ladies were fascinated [after I explained what a Sew Sampler box was] that I get Christmas delivered to me once a month!
Then I made an assembly line sewing station. I lined them up, and ran through 4 sets of 2 at first, then took the first two off the chain, pressed them with the seam roller, placed them together, and ran them through, completing one block.

Then 2 more sets of two, cut two more off the chain, put completed block asside, rolled the seams, place together, and run them under the needle.

Every 3rd piece in the chain was a completed block until they were all done.

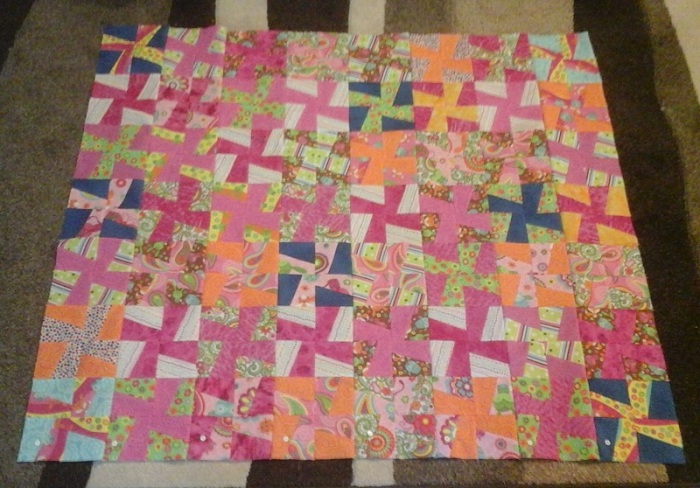
It took longer to arrange them on my “quilt wall” than it did to sew them.
The whole thing was done in a weekend.

Tips:
1. When making the blocks, because the colors all meet in the center, you don’t have to focus on matching the seems so much. Instead, focus on matching the edges of the fabric, and you won’t have to trim or square up these blocks before sewing them together.
2. When sewing the blocks into rows, I did not press the seams until they were all sewn. That way, I could press one row’s seams to the east, and the next row’s seams to the west, so they all nested. Yes, I press to one side so I can [say it with me] stitch in the ditch.
3. I have a set of numbered pins, that I used on the first block in each row, because order is sew important on a scrappy quilt like this! It takes a lot of work to make stuff look random. [the tiny white circles in quilt below are the numbered pins]
Now I must mull over how to make another quilt out of the scraps! Ugly scraps. Ugh!

Stay tuned. It gets prettier! I promise.
The other Twin quilt is done, so here is the rest of the pictures.
I didn’t add the border until I got the second one done, so they’d be the same size.

The pinwheel was quilted with straight lines in the ditch outlining the pinwheels. Then I read the quilt spacing specs for the batting I was using [2 to 4 inches – who DOES that?].
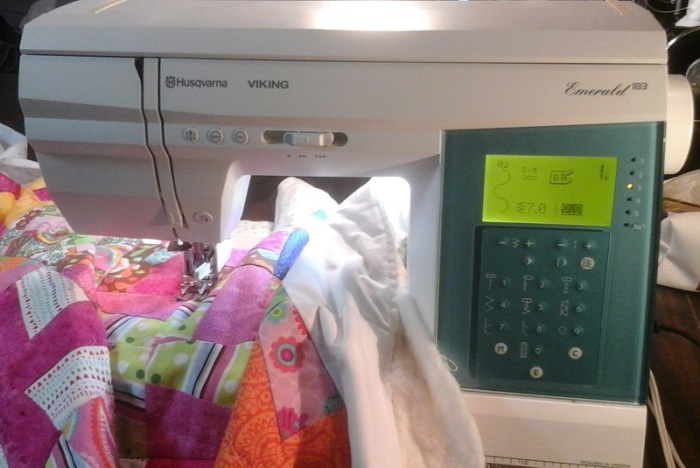
After kicking myself, I had Emmy Lou do her serpentine stitch through the middle of each one.

Ooops! I forgot I had light blue thread in Emmy’s bobbin.

After borders, I had 50×55 [with a 4 inch border] for the pinwheel and 50×57 [with 2 inch border] for the other Twins Quilt and I’m calling it close enough!

#UglyJellyQuilt #UglyHasABaby #IfItsStillUglyYouDidntCutItSmallEnough #QuiltInAWeekend

Well, I apparently have no taste because I kind of liked some of the fabrics. Some. I am a HUGE fan of pinwheels so that is definitely a redeeming factor, right? Can’t wait to see what the second one looks like. I’m going to follow you so I don’t miss anything! ~smile~ Roseanne
LikeLiked by 1 person
Thanks! Two of the rolls were not-awful prints. The other roll was the pink verson of the browns I was horrified by last time, and I put so many aside, I had to buy some nicer pink to add in. I think this quilt is why I bought some Kaffe Fasset fabric and books this month, to give my eyes something pretty to look at.
LikeLiked by 1 person
I like it but I LOVE that you have over 50 jelly rolls. 🙂
LikeLiked by 2 people
No kidding! I only have around 5 or so . . . only because I limit myself on buying them. Now charm packs – I can’t even count how many I have. LOL
LikeLiked by 1 person
Me too. I am finding it hard to use the charms though. I usually only have 1 or 2 of each kind and need several more to make a quilt. Guess I need to make smaller quilts. LOL
LikeLike
Yup – those baby quilts are perfect for charm packs. Now those kids just need to cooperate and give you some grandchildren! ~smile~
LikeLiked by 1 person
My ‘kids’ have grown kids so I am waiting, very impatiently, on great grands. LOL
LikeLiked by 1 person