Sometimes you just gotta do something relaxing, that doesn’t take much brain power.
This is that quilt.
I like fabric panels, even though I know there will be no lines . . . ahem . . . ditches to follow when I quilt it.
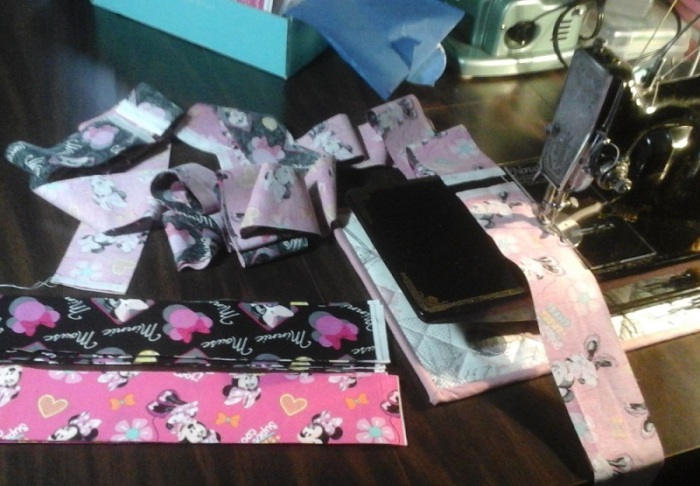
There’s a girl at work who is pregnant. One day, she told me she would have 2 girls, and I asked if she was having twins. She said no, she had one girl already, and showed me some pictures of her family at a birthday party. The theme was pink Minnie Mouse. Probably a month later, I was drooling over fabric online, when I found some pink Minne Mouse fabric that reminded me of her. I threw a couple yards in with my order, thinking I may make a baby quilt for my co-worker.
I was only thinking about it because I feared that somone else would want me to make them a quilt, too.
I have many thoughts on “Request sewing” but the bottom line is I don’t care for it. I really have enough to do, and I sew some out of need, and some for fun. The thing is we can’t control many things in life, but I can control what I sew.

Then I came across a Minnie panel with some pink in it, and decided I wasn’t going to overthink this, and just make her a darling baby quilt already! I would give it to her quietly, and hope I wouldn’t get any requests.
I ordered the panel, then cut strip pieces that I thought I would make a nice piano key border – something I haven’t done yet. Hey, why not practice on other peoples quilts?
When it came, I saw it was much too big to be the center of a baby quilt. Most panels are 24×44, but this one was 36×44. I hung it up for inspiration, and thought why not the back? That certainly solves two problems. 1 How to make a quilt out of a larger panel, and 2 what to put on the back!

I had already cut 12 – 2 1/2″ strips of each contrasting colors, so I decided to do the whole quilt out of them. Notice the Remnant Quilt pieces I was taking a “think break” from in the background.

The 2 1/2″ strips were fed through Mustang when my brain needed a break from the remnant quilt process.
I sewed the 2 contrast colors together, then sew those two strip sets together , alternating the colors to make a tube. Like I did for my Dish mat
The 6 resulting tubes of stips should cut to 8 – 6″ blocks each, but I got 9 out of mine. Normally, I’d use all 48 or [54 if you get 9] blocks, but I was limited to the size of the panel. I have some fabric left, so maybe I make another?

Once I joined the blocks to make a row, I pressed the first row on one direction, and the second row in the other.

I usually press to the dark, but when I stitched the rows together, they were quite bulky, so I pressed them open, making a note to myself not to stitch in that ditch.
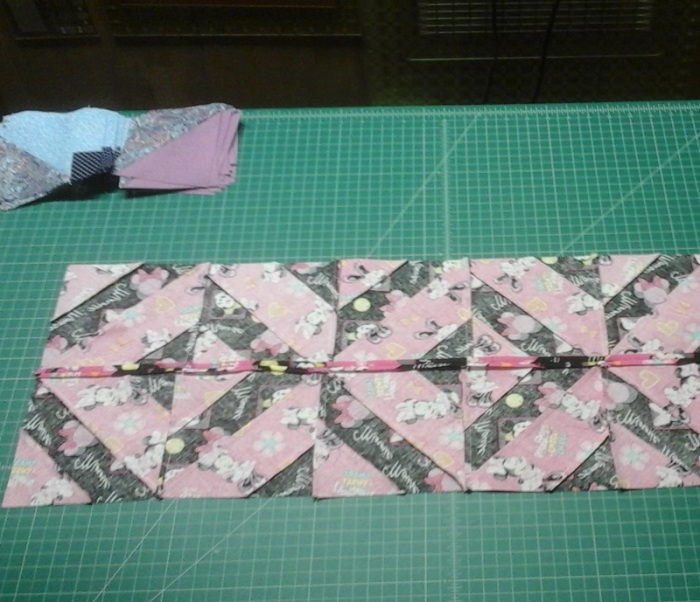
I always place a pin in the top row to help keep me from sewing the next row to the top.

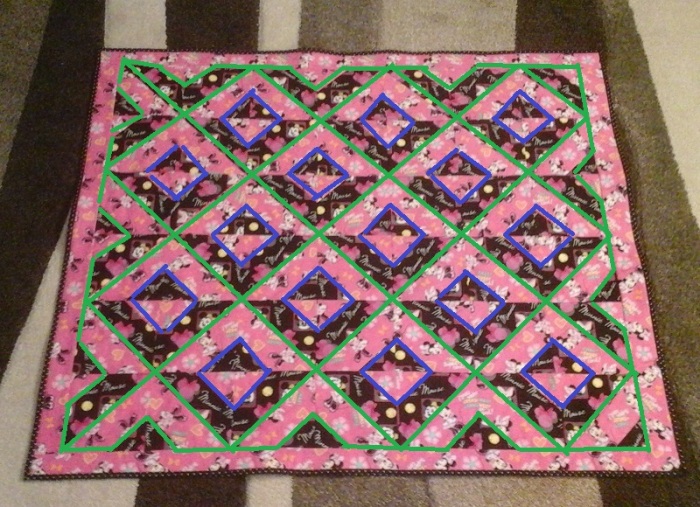
I arranged 42 blocks 6 across by 7 down, and quilted in the ditch diagonally in each direction.
Then I stitched around the square in the center of each block, removing the pins after I completed each square so I wouldn’t miss one.

The back looks kinda good!

Sometimes a contrast binding is called for, especially when the quilt contains large prints. I found some black fabric with white hearts, and used it for the binding.

Finished!

Yes, I did try to agonise over thread colors, but went with pink on top and white on the bottom, and now I am happy I did.

My husband remarked that she may not know which side is the front!

Just for beginer quilters who use home machines, the quilting was a cinch! Here are my crudely drawn quilting diagrams.
First diagonal lines in one direction

Then diagonally in the other direction

Then outline the whole design following the V’s on the edge of the border.

Finally, I outlined the little squares formed by the pattern. This was easy to stop with needle down in the corners, and spin the quilt through the throat of my machine to sew the next line in the square.
Simple, and easy for a domestic sewing machine.
The monday I was going to give the girl this quilt, she was off for maternity leave already, so I gave it to her best friend to give to her. No fan fare was made of it, so I am happy about it.
I think I’m ready to tackle another quilt!
- which I am already playing hooky from as I write this.
#MinneMouseQuilt #JellyRollStripPiecing #PanelForQuiltBack #NoSuchThingAsa$50Quilt #ThankYouForNotAskingMeToMakeYouaQuilt

Love your panel and your idea for using it for backing was brilliant. The print for a $50 quilt was so true. I have so many people ask me to make a quilt and when I quote them a price they tell me they can get one at Target cheaper. I just smile and say ‘that is a great idea.’
LikeLiked by 1 person
I don’t even talk price, because chances are we would both come away feeling insulted. Instead, I tell them I have several projects going on, and couldn’t guess when I’d get to it. I still have 3 curtains to make, plus I’m doing two more quilts, have a couch to upholster, and it’s almost time to get out and take care of my garden, ect. No one has ever offered to weed my garden for me, so . . . . .
LikeLike