This was one of my first quilts.
I had sewn before, but I was new to quilting. Quilting has fascinated me for years, as did Tae Kwon do, which I finanlly got to do, and it was as fun as I thought. So why not quilting?
So far I had made a patriotic quilt top, and a giant dahilia which I only quilted the middle circle, and made a duvet cover out of, because I ran out of time, and I really didn’t know how to quilt. I still really don’t know, but I know what works. I am able to look at things people do traditionally, and figure out how to do it differently. That’s probably how I managed to become trainer/line leader at any production job I’ve held. I follow instructions and then a light turns on. Why don’t I try this method? – and it works! Not only that, it works for other people too.
My daughter, whom I lovingly call “Brat” because she is so dramatic – unlike myself – enlisted in the Navy. She draws people in with her energy, and will have you doing stuff, you never would have done by yourself . . . OMG she IS like me! I mean I have succesfully trained people at work that others had no hope for.
If there is a desire, there is a way! It doesn’t have to be the the traditional way.
Which is how I did this quilt for Brat’s friend whom she met and became close friends with in the Navy. Brat and her friend enlisted at different times, and thusly got separated when her friends 3 years deployment was up. I wanted her friend to have a hug whenever she needed it, so I decided to make a cuddly quilt.
I found a free pattern included in one of those magazine solicitation envelopes that begs you to open it. It was called Modern Baby. What I did differently was, I used fleece for the backing! No one told me I couldn’t – well they would have if I had told a ‘real’ quilter what I was planning. So I didn’t tell anyone. At the very least I would fail without an audience.
My quote for the day: You only fail when you quit trying!
The pattern calls for 12 fat quarters [well 13 if you count the one they want you to cut up for binding] , and I didn’t have any, but I wanted 16 blocks instead of 12 anyway, so I would need 16 pieces 17″ x 17″.
In my ‘dreaming about quilting’ phase, I had amassed over 6 totes of fabrics from garage and rummage sales. I washed, ironed, measured and pinned the measurements to each piece, then sorted by color until I had so much, I had to quit washing, and just sort. I now have, oh never mind, it’s at least 10 times that.
I looked on the friends Facebook page, and discovered she loves Sunflowers! Me too. Her hometown college is LSU, whose colors are purple and orange. How can I do sunflowers and purple and orange? I chose some green and blue, and of course yellow. I could hear the traditional quilters gasping and choking now, but they weren’t with me, so I soldiered on.
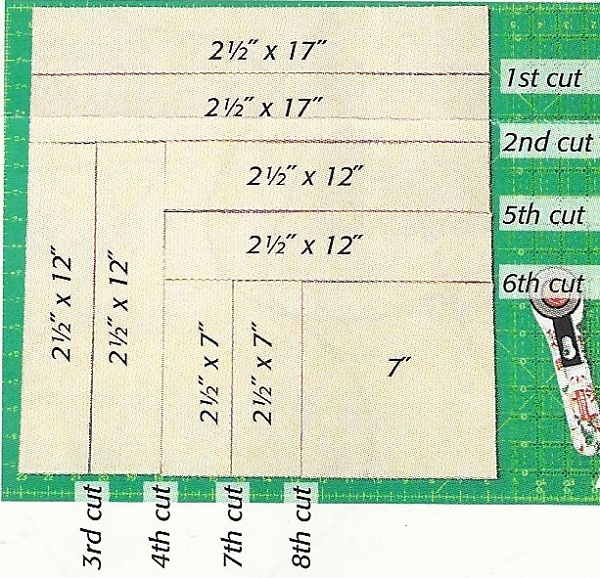
I followed the cutting directions, stacking one light, then one dark.
When I get a new toy [sewing machine] I like to use it for at least one project to get to know it better. For this one I enlisted Mr Wizard. His needle sits slightly to the left, and I made a fix for that, which everyone told me I couldn’t do. That will be an another post.

When the fabric pieces are all cut and stacked , I took the first 4 stacks of strips next to the square, one at a time, and picked up the first layer piece and placed it under the stack, exposing the second layer piece [pink pieces in pictures] and put the stack back in place.

Then I took the last 4 stacks and picked up two layers of each stack, exposing the 3rd layer piece, and placed them under the stack they belonged to, and placed that stack back in place. The 3rd layer is shown in red.

To keep these in order, I cut a piece of cardboard to lay the arrangement on, because I cut in one room and sew in another, so I needed to be able to carry this whole arrangement to my sewing machine.
Then I sewed the top layer together, making one block at a time. Then the next layer. What you see is what you sew!

Money was a bit tight, and I only bought what was needed, unless I find it darn near free, and it looks useful. I couldn’t find a way to square up the resulting 14.5″ block before sewing them all together, so I bought a giant square ruler online. It was a good investment.
Then I took a big breath, and sliced each block in half diagonally . . .

and arranged them.
I didn’t have a design wall, so this is only the first two rows. The second two would be identical. Like miss-matched socks .

Now it gets tricky. I didn’t want the traditional cotton backing, and I sure didn’t want to fight that fleece. I figured I would have to top stitch the design before adding the backing. Thinking that stitching a top directly to batting will likely create a ton of lint which would end up in my machine, I skipped the batting entirely. Besides, with fleece, I hardly think batting is needed. I stitched the top to some heavy interfacing instead. This will prevent the quilt top from shifting around and losing it’s shape, and give me a better foundation to sew the fleece to.
Here it is laid out on the interfacing on the floor before I cut around it to sew.

After top stitching it to the interfacing, I simply placed the top on the fleece, pinned everywhere, and sewed straight lines down between each block, starting in the center and working out because fleece stretches. Then I got brave, and stitched a square pattern in the center of each block. I was so glad I only did 16 blocks! That’s a lot of ‘needle down’, then turning. I used My Viking for the quilting because it has a low gear setting, which will slowly power through thick layers. Mr Wizard would have done it, but faster, and I wanted to go slow.

I did an outer stitch to stablise it all, then trimmed the backing to match the top.
Then I You-tubed how to bind quilts!
After hours of videos, and many pots of coffee, I steeled my nerves, and did it! I used my new edge stitching foot, and top stitched on the binding. It worked, but I don’t do that anymore. Now, I stitch outside the binding.
How I do Binding is located in Dish mat – Because You Just Can’t Buy Awesome

Oh yeah, this was my very first traditionally bound quilt, and it wasn’t awful.


Sometimes tradition works!
#ModernBabyQuilt #BabyQuiltTutorial

Love the sewing machine. I have an old kenmore that I love. Sews the straightest of all my machines.
LikeLiked by 1 person
I hear Kenny’s are great! I have two 158’s I haven’t serviced yet. Maybe this summer.
LikeLiked by 1 person